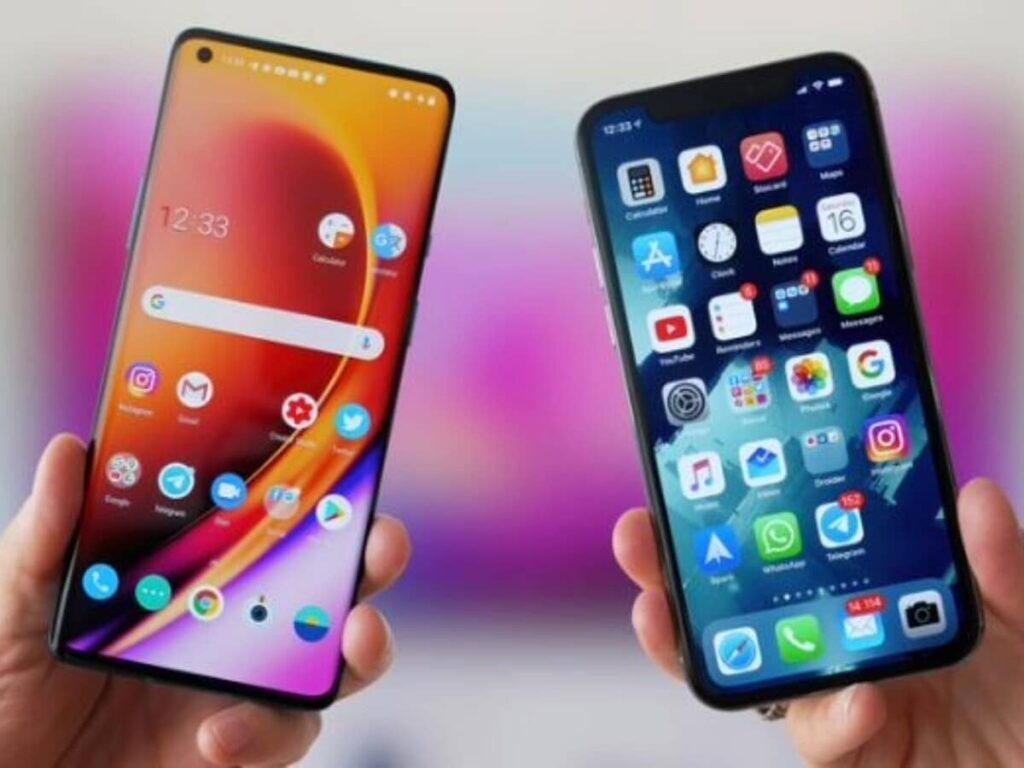
If you’re considering making the switch from Android to iPhone, you’re not alone. Many users find themselves needing to make this transition for various reasons, including better ecosystem integration, superior hardware, or simply a preference for Apple’s operating system. One of the biggest concerns during this process is transferring data from one device to another. In this article, we will provide you with a comprehensive, step-by-step guide on how to transfer data from your Android device to an iPhone seamlessly.
Why Switch from Android to iPhone?
Switching from Android to iPhone can be a significant decision. Here are some compelling reasons to consider:
- Security: iPhones are known for their robust security features and regular updates.
- User Experience: Apple’s iOS is generally regarded as more intuitive and user-friendly.
- App Quality: Many developers prioritize iOS when launching new apps, often resulting in better quality and performance.
Preparing for the Transfer
Before diving into the data transfer process, it’s important to prepare both your devices:
Check Compatibility
Ensure your Android device is running a version that is compatible with the data transfer process. Most modern Android phones work well with Apple’s transfer methods, but it’s always good to check.
Update Your Apps
Make sure that all apps on your Android device are up to date. This can help with the transfer of app-related data.
Backup Your Data
A reliable backup is crucial. Use cloud services like Google Drive or backup on your PC to ensure no data is lost during the switch.
Step-by-Step Guide to Transfer Data
Using the ‘Move to iOS’ App
Apple provides an application called ‘Move to iOS’ to simplify the switch. Follow these steps:
- On your Android device, download the ‘Move to iOS’ app from Google Play Store.
- Set up your new iPhone until you reach the ‘Apps & Data’ screen.
- Select ‘Move Data from Android’ on your iPhone.
- Open the ‘Move to iOS’ app on your Android device and follow the on-screen instructions.
- Enter the code displayed on your iPhone into your Android device to establish a connection.
- Select the data you wish to transfer: contacts, message history, photos, and more, then start the transfer.
Transferring Additional Data
After using ‘Move to iOS’, you might still have some data left to transfer:
- Music: Use iTunes or Apple Music to transfer your music library.
- Photos: Sync your photos with iCloud or manually upload them to your computer and then to your iPhone.
- Apps: Download compatible apps on your iPhone. Not everything may transfer directly, but most popular apps are available on both platforms.
Common Issues and Troubleshooting
If you encounter issues during the transfer, consider the following solutions:
- Connection Problems: Ensure both devices are on the same Wi-Fi network and that Bluetooth is turned on.
- Data Not Transferring: Check if you have enough storage on your iPhone for the incoming data.
- App Availability: Some apps may not be available on iOS. Make a note of essential ones to find alternatives.
Conclusion
Transitioning from Android to iPhone doesn’t have to be a cumbersome task. With Apple’s ‘Move to iOS’ app and careful preparation, you can successfully transfer your data while enjoying a fresh start on your new device. Whether it’s contacts, photos, or applications, following this guide will help ensure a smooth data transfer process, allowing you to explore all the great features that come with your new iPhone. Happy switching!
