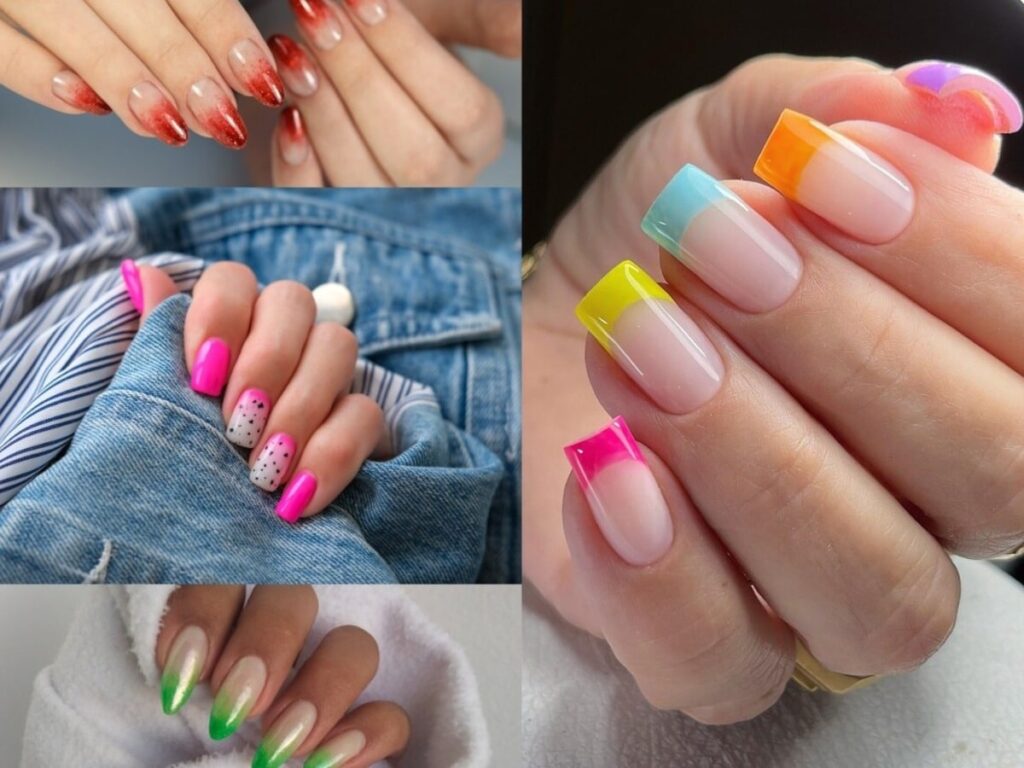
Nail art has become a popular trend among beauty enthusiasts, offering a unique way to express personal style and creativity. For those who love the look of beautifully decorated nails but wish to create stunning designs at home, combining traditional techniques like mehndi (henna) with modern nail art can result in eye-catching designs. In this article, we will explore different methods, tips, and techniques for creating gorgeous nail art at home using henna and other accessible materials.
Benefits of DIY Nail Art at Home
Creating nail art at home has numerous advantages, including cost-effectiveness, personalization, and convenience. Here are some benefits:
- Cost-Effective: Home nail art can be significantly cheaper than regular salon visits.
- Customization: You can create designs that reflect your personality and style.
- Convenience: Nail art can be applied at your own pace in the comfort of your home.
Essential Tools and Materials
Before you begin, it’s important to gather the right tools and materials for nail art. Here’s a list of essentials:
| Tool/Material | Purpose |
|---|---|
| Nail polish | Base color and decorative designs |
| Henna | Traditional art for intricate designs |
| Nail art brushes | Creating detailed designs |
| Dotting tool | For dots and small details |
| Top coat | To ensure longevity and shine |
Steps to Create Nail Art with Mehendi
Step 1: Prepare Your Nails
Start with clean, trimmed nails. Remove any old nail polish and gently push back cuticles. This will provide a clean canvas for your nail art.
Step 2: Apply Base Color
Choose a base color for your nails and apply a couple of coats for an even finish. Allow it to dry thoroughly.
Step 3: Design with Mehndi
Using a henna cone, create your desired design on your nails. You can draw intricate patterns, flowers, or geometric shapes. The key is to work slowly and carefully to achieve detailed results.
Step 4: Finishing Touches
Allow the henna to dry completely. Once dry, apply a top coat to protect the design and add a glossy finish.
Ideas for Nail Art Designs
Here are some creative ideas to inspire your henna-inspired nail art:
- Floral patterns with intricate details
- Geometric shapes for a modern touch
- Cultural motifs inspired by traditional art
- Simple dots and swirls for a minimalist look
Tips for Success
To achieve the best results, keep the following tips in mind:
- Practice your henna techniques on paper first to gain confidence.
- Experiment with colors and designs before committing to your nails.
- Be patient and allow each layer to dry completely before applying the next.
Conclusion
Creating nail art at home using mehndi is an enjoyable and rewarding experience. With the right tools, techniques, and designs, you can bring creativity to your fingertips. Not only does this method allow you to customize your nails to your liking, but it also embraces traditional artistry in a modern context. So, gather your materials, unleash your creativity, and transform your nails into stunning pieces of art!
