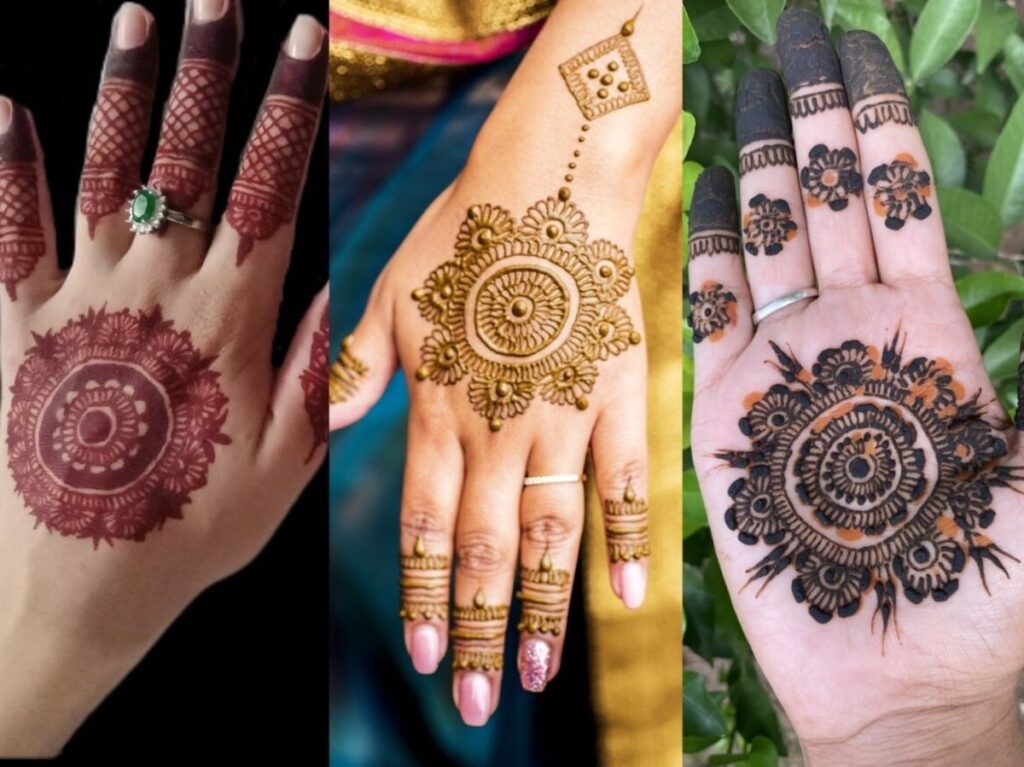
Mehndi, or henna, is a traditional form of body art that has been cherished for centuries, especially in South Asian cultures. The intricate designs of mehndi not only enhance beauty but also hold cultural significance, symbolizing joy and celebration. However, applying mehndi can often seem daunting for many, especially those new to this art form. This article will explore an easy and innovative trick to apply mehndi using everyday items like bangles, coins, and brushes, allowing anyone to create stunning mehndi designs effortlessly.
Understanding the Basics of Mehndi Application
Before diving into the easy trick, it’s essential to understand the basic tools and ingredients involved in mehndi application. Here’s a quick overview:
| Item | Description |
|---|---|
| Henna Paste | The primary ingredient, made from dried and powdered henna leaves mixed with water or lemon juice. |
| Applicator Cone | A cone-shaped bag used to carefully apply henna in intricate patterns. |
| Bangles | Used as a stencil for creating circular designs or patterns on the skin. |
| Coins | Help create smooth and uniform circular motifs by pressing them onto the skin. |
| Brush | A soft brush can help in spreading the paste evenly and refining design edges. |
Step-by-Step Mehndi Design Trick
Gathering Your Materials
Start by collecting the following materials:
- Fresh henna paste (preferably homemade for better color)
- Clean applicator cone
- Small bangles or large coins
- A fine brush
- Paper towels for cleanup
- Optional: essential oils like eucalyptus or tea tree oil for better stain
Applying Mehndi Using Bangles and Coins
1. **Prepare the Skin**: Ensure the skin is clean and dry. You might want to apply a bit of eucalyptus oil to enhance the stain.
2. **Creating Patterns with Bangles**:
– Place a bangle on the area where you want to create a footprint-like design.
– Use the henna cone to fill in the space between the bangle and the skin.
– You can rotate the bangle as you apply henna to form a circular pattern.
3. **Using Coins for Motifs**:
– Take a clean coin and gently press it on the skin.
– Use the henna cone to draw around the coin. This will create a perfect circle.
– For added design, you can create smaller circles around the main motifs.
Finishing Touches
Once you’re satisfied with your design, allow the mehndi to dry completely, which may take several hours. After it dries, scrape off the dried henna gently with a spatula or your fingers – avoid washing it off. The longer you leave it on, the darker the stain will be.
Tips for Optimal Results
- Apply a sugar-lemon mixture for a glossy finish after the henna has dried.
- Keep the mehndi on for 6-8 hours for a rich color payoff.
- Store any leftover henna paste in the refrigerator for future use.
Conclusion
Applying mehndi can be a delightful experience when approached with the right techniques and tools. By utilizing common items such as bangles, coins, and brushes, you can create impressive designs that stand out and celebrate your creativity. This method not only makes the application process easier but also allows anyone, regardless of skill level, to enjoy the art of mehndi. So gather your materials, unleash your inner artist, and enjoy the beautiful world of henna designs!
